🍼 How to Host a Stylish & Memorable Gender Reveal Party


A gender reveal party is one of the sweetest milestones to celebrate before baby arrives. It’s a chance to gather your favorite people, share your excitement, and create a special memory everyone will talk about for years to come.
The best part? There’s no single “right” way to host a gender reveal — it can be as simple or as elaborate as you want. With a little planning and some creative touches, you can throw a party that feels personal, fun, and totally unforgettable.
Here’s your step-by-step guide to hosting a stylish and memorable gender reveal party.

🌸 Step 1: Pick a Theme (or Keep It Simple)
Choosing a theme or color palette helps pull your party together and makes decorating a breeze. You don’t need to overcomplicate it — just pick a vibe that feels right for you.
Here are a few popular gender reveal themes:
✨ Pink & Blue Pastels – Classic, timeless, and easy to style.
🐝 What Will Baby Bee? – Yellow & black with cute bee accents.
🎀 Bows or Bowties? – Playful and perfect for a dressy-casual event.
🎯 Team Pink vs Team Blue – Encourage guests to “pick a side” with buttons or stickers.
🌿 Modern Neutrals – Creams, greenery, and subtle pops of blush or powder blue.
Or skip the theme entirely and just use pretty tableware, balloons, and flowers in a few coordinated colors.
🎈 Step 2: Plan the Reveal Moment
The big reveal is the heart of your party — so plan a moment that works for you and your guests.
Some creative ways to announce the news:
🎈 Pop a giant balloon filled with colored confetti.
🍰 Cut into a cake or cupcakes with pink or blue filling.
🎉 Hand out confetti poppers to guests and count down to a collective surprise.
💨 Use smoke cannons or streamers for a dramatic photo op.
🪅 Break open a piñata with colored candy or paper.
✅ Pro Tips:
Have a trusted friend or bakery keep the secret so you can be surprised too.
Test your chosen method beforehand to make sure it works.
Plan the reveal after everyone’s had time to arrive, mingle, and grab a drink.
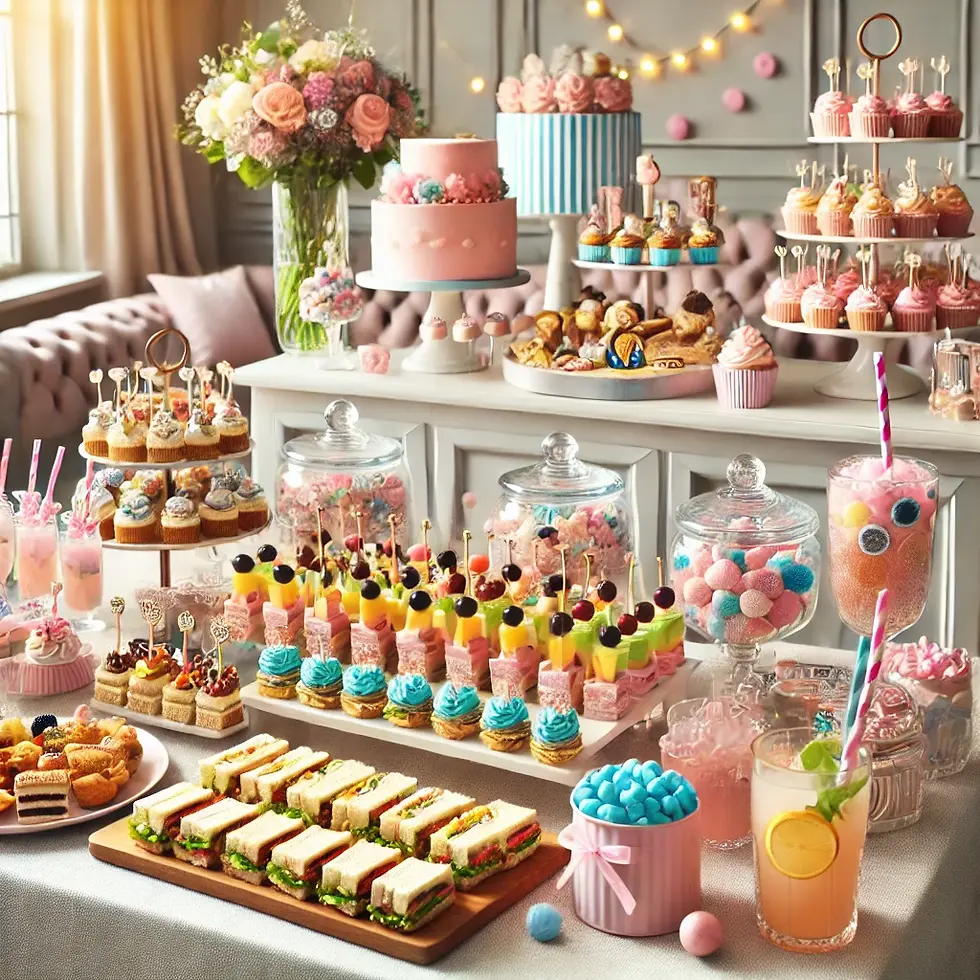
🥂 Step 3: Food & Drinks Guests Will Love
You don’t need a full meal to keep guests happy — simple bites and pretty drinks go a long way.
Here are some crowd-pleasers:
🥪 Mini sandwiches, fruit skewers, veggie platters.
🍰 A dessert bar with cupcakes, cookies, and candies in pink, blue, or both.
🍹 A DIY cocktail & mocktail station (bonus: check out our DIY drink station guide for ideas!).
Small details make it feel extra special:
Color-coded straws or napkins.
A signature pink drink and a signature blue drink for “team” fun.
Cute favor bags with candies or candles guests can take home.

🎯 Step 4: Make It Fun & Interactive
Keep guests engaged with games and activities while they wait for the big reveal:
A predictions board — boy or girl?
Team stickers or buttons for guests to wear.
A station where guests can write notes or wishes for baby.
A few rounds of baby-themed trivia or bingo.
It’s a great way to break the ice and add laughter to the party!
📸 Step 5: Capture the Moment
Don’t forget to document the big day!
Hire a photographer or ask a friend with a good camera to help.
Set up a photo booth corner with props and a cute backdrop.
Create a hashtag for guests to tag their posts so you can see all the memories later.
If using confetti or smoke, have a broom or cleanup plan ready so you can keep the party going.
🎉 Celebrate Your Way
At the end of the day, a gender reveal party is all about you, your growing family, and the people you love.
There’s no need to stress over perfection — just focus on creating a warm, welcoming space where you can share this special moment together. With a little planning and some thoughtful details, your gender reveal can be every bit as stylish and memorable as you imagine.
Cheers to baby! 🍼✨


What interests me about exploring local heritage in Ostrorog is how a broad idea becomes part of an ordinary day. A community's history can become easier to picture through ordinary objects and places. I would use that point as a starting question when considering Ostrorog heritage education. I am still thinking through the details, and a small example would help me picture how this works in practice. How could students present local heritage in a way that welcomes further questions?
I find building confidence in continuing education easier to think about when there is a concrete question to start from. A manageable first assignment can help learners understand the pace and expectations of a course. This is why I would approach continuing education skills with a specific question rather than a fixed expectation. The part I would like to explore further is what happens when the idea meets a real situation with its own limitations. What kind of introduction would make a new learning environment easier to approach?
I can see why introducing electrical and mechanical learning would invite discussion, since different people will bring different experiences to the same question. Seeing how one component affects another can make a system easier to understand. I would use that point as a starting question when considering electromechanical education. I would be interested in a simple example, because it is often the ordinary details that make an idea memorable. Which small demonstrations help beginners connect a diagram with an actual mechanism?
What interests me about developing musical skills through steady practice is how a broad idea becomes part of an ordinary day. Listening back to a short attempt can reveal details that are difficult to notice while playing. It gives me a more concrete starting point for thinking about structured music practice. I can imagine different answers depending on the situation, so I would want to understand the context before drawing conclusions. What would you listen for when comparing two versions of the same passage?
A conversation about making music practice meaningful in Legnica seems most useful to me when it leaves space for uncertainty and further questions. A short phrase practised attentively can be more useful than playing an entire piece without a focus. It also gives the phrase Legnica music education a clearer meaning than a label on its own. A short discussion of an everyday example would make this easier for me to connect with, especially as someone still learning about the subject. How do learners decide which part of a piece needs their attention first?